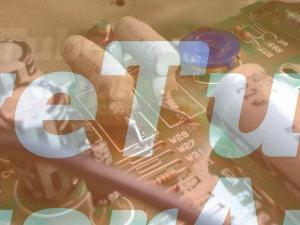
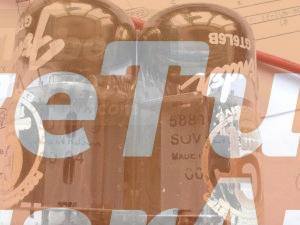
A friend brought me his Fender Hot Rod Deluxe amp. The issue was that one of the output valves which are 6L6’s was glowing like an electric fire. See the markings have brown on one of the output valve. Note the amateurish re-branding by Fender of Sovtek 5881 valves as 6L6GC’s !
The Hot Rod deluxe amp is a nice sounding amp but in my opinion Fender were trying to make a full featured amp at an aggressive price and so the design and mechanical construction suffered in the cost cutting.
The glowing valve was easy to track down. The easy way is to remove the output valves so you do not cook them anymore and put a voltmeter into pin 4 of the valve base and the other voltemeter connection to earth . Measure the volts . They should be the same. In this amp the valve that was cooking read zero volts. This meant no bias. So I tracked back the connections from the valve base till I found the volts. It was a broken track on the valve pc board. Once I bridged the faulty track with wire, the amp now worked perfectly. I replaced the two output valves and re- biased them.
Fender conveniently put a resistor on the board so you can measure the bias directly. I then set the bias per the factory specification. Job done.
I noticed that there was a slight “sputter” sound from the amp when turned up loud. this was tracked to the signal capacitors feeding the output stage. Thes are C26 and C27. These feed the signal from the previous 12AX7A double triode valve to the 6L6 out put valves. They are 0.1uF 630 volt capacitors. One of them had gone ” leaky” so I replaced them both. The “sputter” noise was gone.

The power supply for the solid state circuits in this amp is not good. They use two 5 watt 470ohm dropper resstors and zener diodes to generate the + and – 16 volts for the op amps. These are 5 watt resistors and they get really hot. The result is that they burn the printed circuit board onto which they are mounted. The board will eventually burn to a crisp and go open circuit. My solution was to mount two stand off resistors so they air could get around them and so they were not in contact with the board any more. this will slow down the destruction of the pcb. The offending resistors are R78 and R79 on the main pcb. They are easy to spot. I recommend you do the same as me if you want this amp to have a long life.
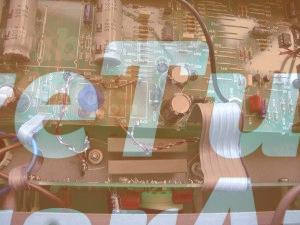
Picture with the original resistors in place

See the picture below for my fix
The picure below shows another modification I have done to the power supply and mounted big 10 watt resistors off the board completely. You can see the spaces where the old resistors were burning up the board
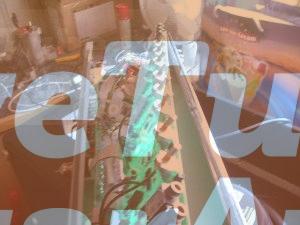
In general the mechanics of this amp meant a lot of dismantling for repair. It is not for the faint hearted. There are piles of screws and nuts to remove. this picture shows the main out and the valve boards still in place.
We sell a kit of valves for this amp. Check it out
Repairing a Fender Hot Rod Deluxe amp Mk 1 USA made
Fantastic put up, very informative. I’m wondering why the opposite specialists of this sector don’t realize this. You should proceed your writing. I am sure, you have a great readers’ base already!|What’s Happening i’m new to this, I stumbled upon this I’ve found It absolutely useful and it has helped me out loads. I hope to contribute & aid different users like its aided me. Good job.
Attractive part of content. I just stumbled upon your blog and in accession capital to assert that I get actually enjoyed account your blog posts. Any way I will be subscribing on your augment or even I achievement you get admission to persistently rapidly.
IHi there
I am pretty new to bloogging so If I wind a way to subscribe I will let you knwo.
Cheers
Stewart
This is a great website!!! I like your site very much and I’ll subscripe to it if you post more articles like this! Do you like EK Voetbal or do you wanna know the EK 2012 take a look on my profile!
Many thanks for the feedback. I will only post when I have something useful to say. It will hopefully quality rather than quantity.
Cheers
Stewart
Thanks for the nice commentsHope you visit again
Cheers
Stewart