The Fault
A nice Tone King Imperial Mk1 ( http://www.toneking.com )arrived with a strange fault. When you turned up the reverb control there was this horrible buzzing sound which increased as you tried to increase the wetness of the reverb. Faults like this are usually the reverb cables, plug and sockets not being earned correctly or even a faulty reverb pan. Not this one! Read on …..
Background on the Tone King Imperial Amp Mk1 and Mk2
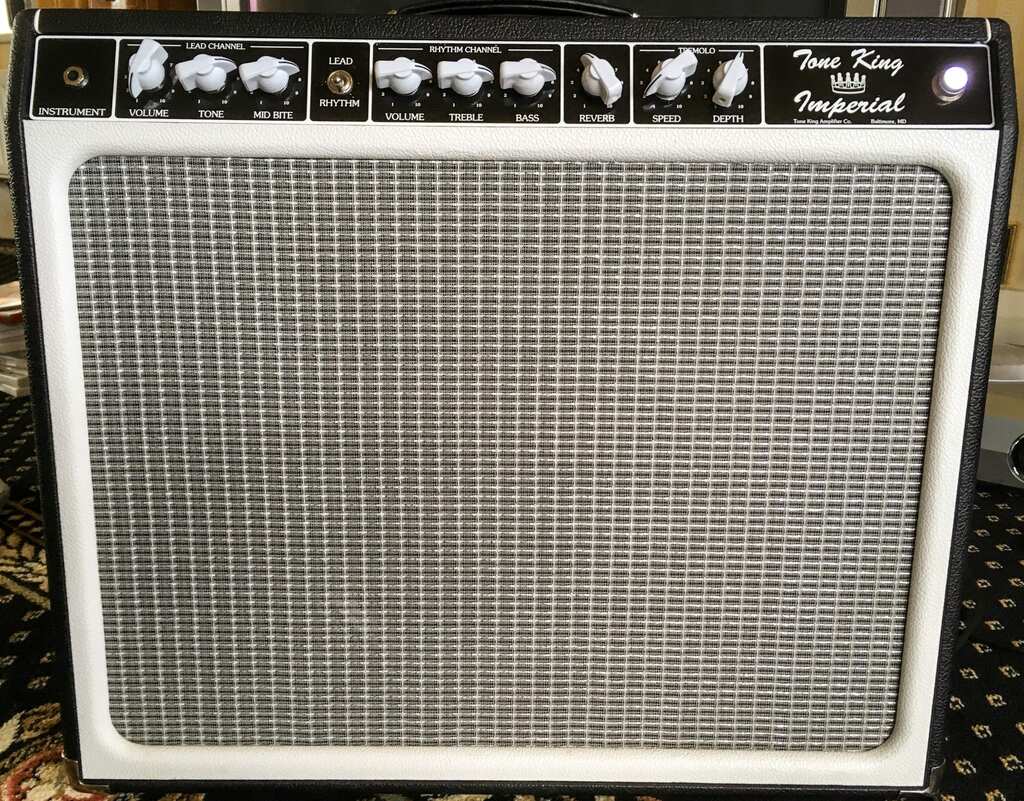
The Tone King Imperial was designed by Mark Bartel and is based on the Fender Deluxe Reverb design but with some notable tweaks. It is has a 1x 12 Speaker branded as Tone King model 33.
The main components are built on a fibreglass 4 layer FR4 printed circuit board and the switching of the lead and rhythm channels is done from the footswitch to small relays on the main pcb. There are no connectors like a Marshaal for example. Everything is soldered to the pcb. Great for reliability but a real pain to dismantle for repair, This is also what makes Mesa Boogie amps so difficult and expensive to repair.
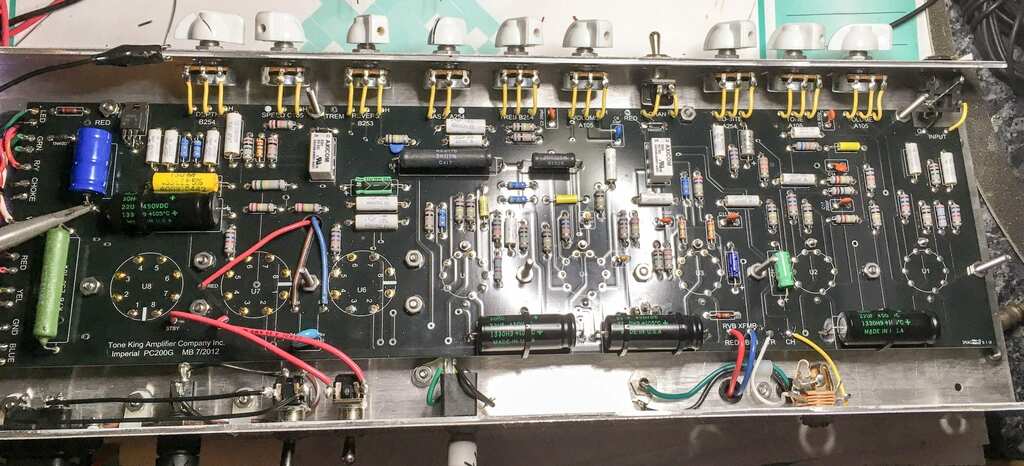
The valve line up is 2x 6V6S on the output, a GZ34 rectifier, and the usual ECC83S /12AX7 valves. An ECC81/12AT7 is used as the reverb driver as in the Fender amps and the same reverb pan model 4AB3C1B but TAD branded. This reverb does not sound as good and lush like an NOS Accutronics unit
One big difference is that the older style of vibrato circuit ( tremolo as it is called on the amp) that does not use an opto-isolator like Fender and it does sound a lot better. It is smoother in its operation. Nice!
Vibrato is amplitude modulation of the sound and tremolo is frequency modulation of the sound and this is amplitude modulation = Vibrato !!! Folks mix up the terms tremolo and vibrato and they are different
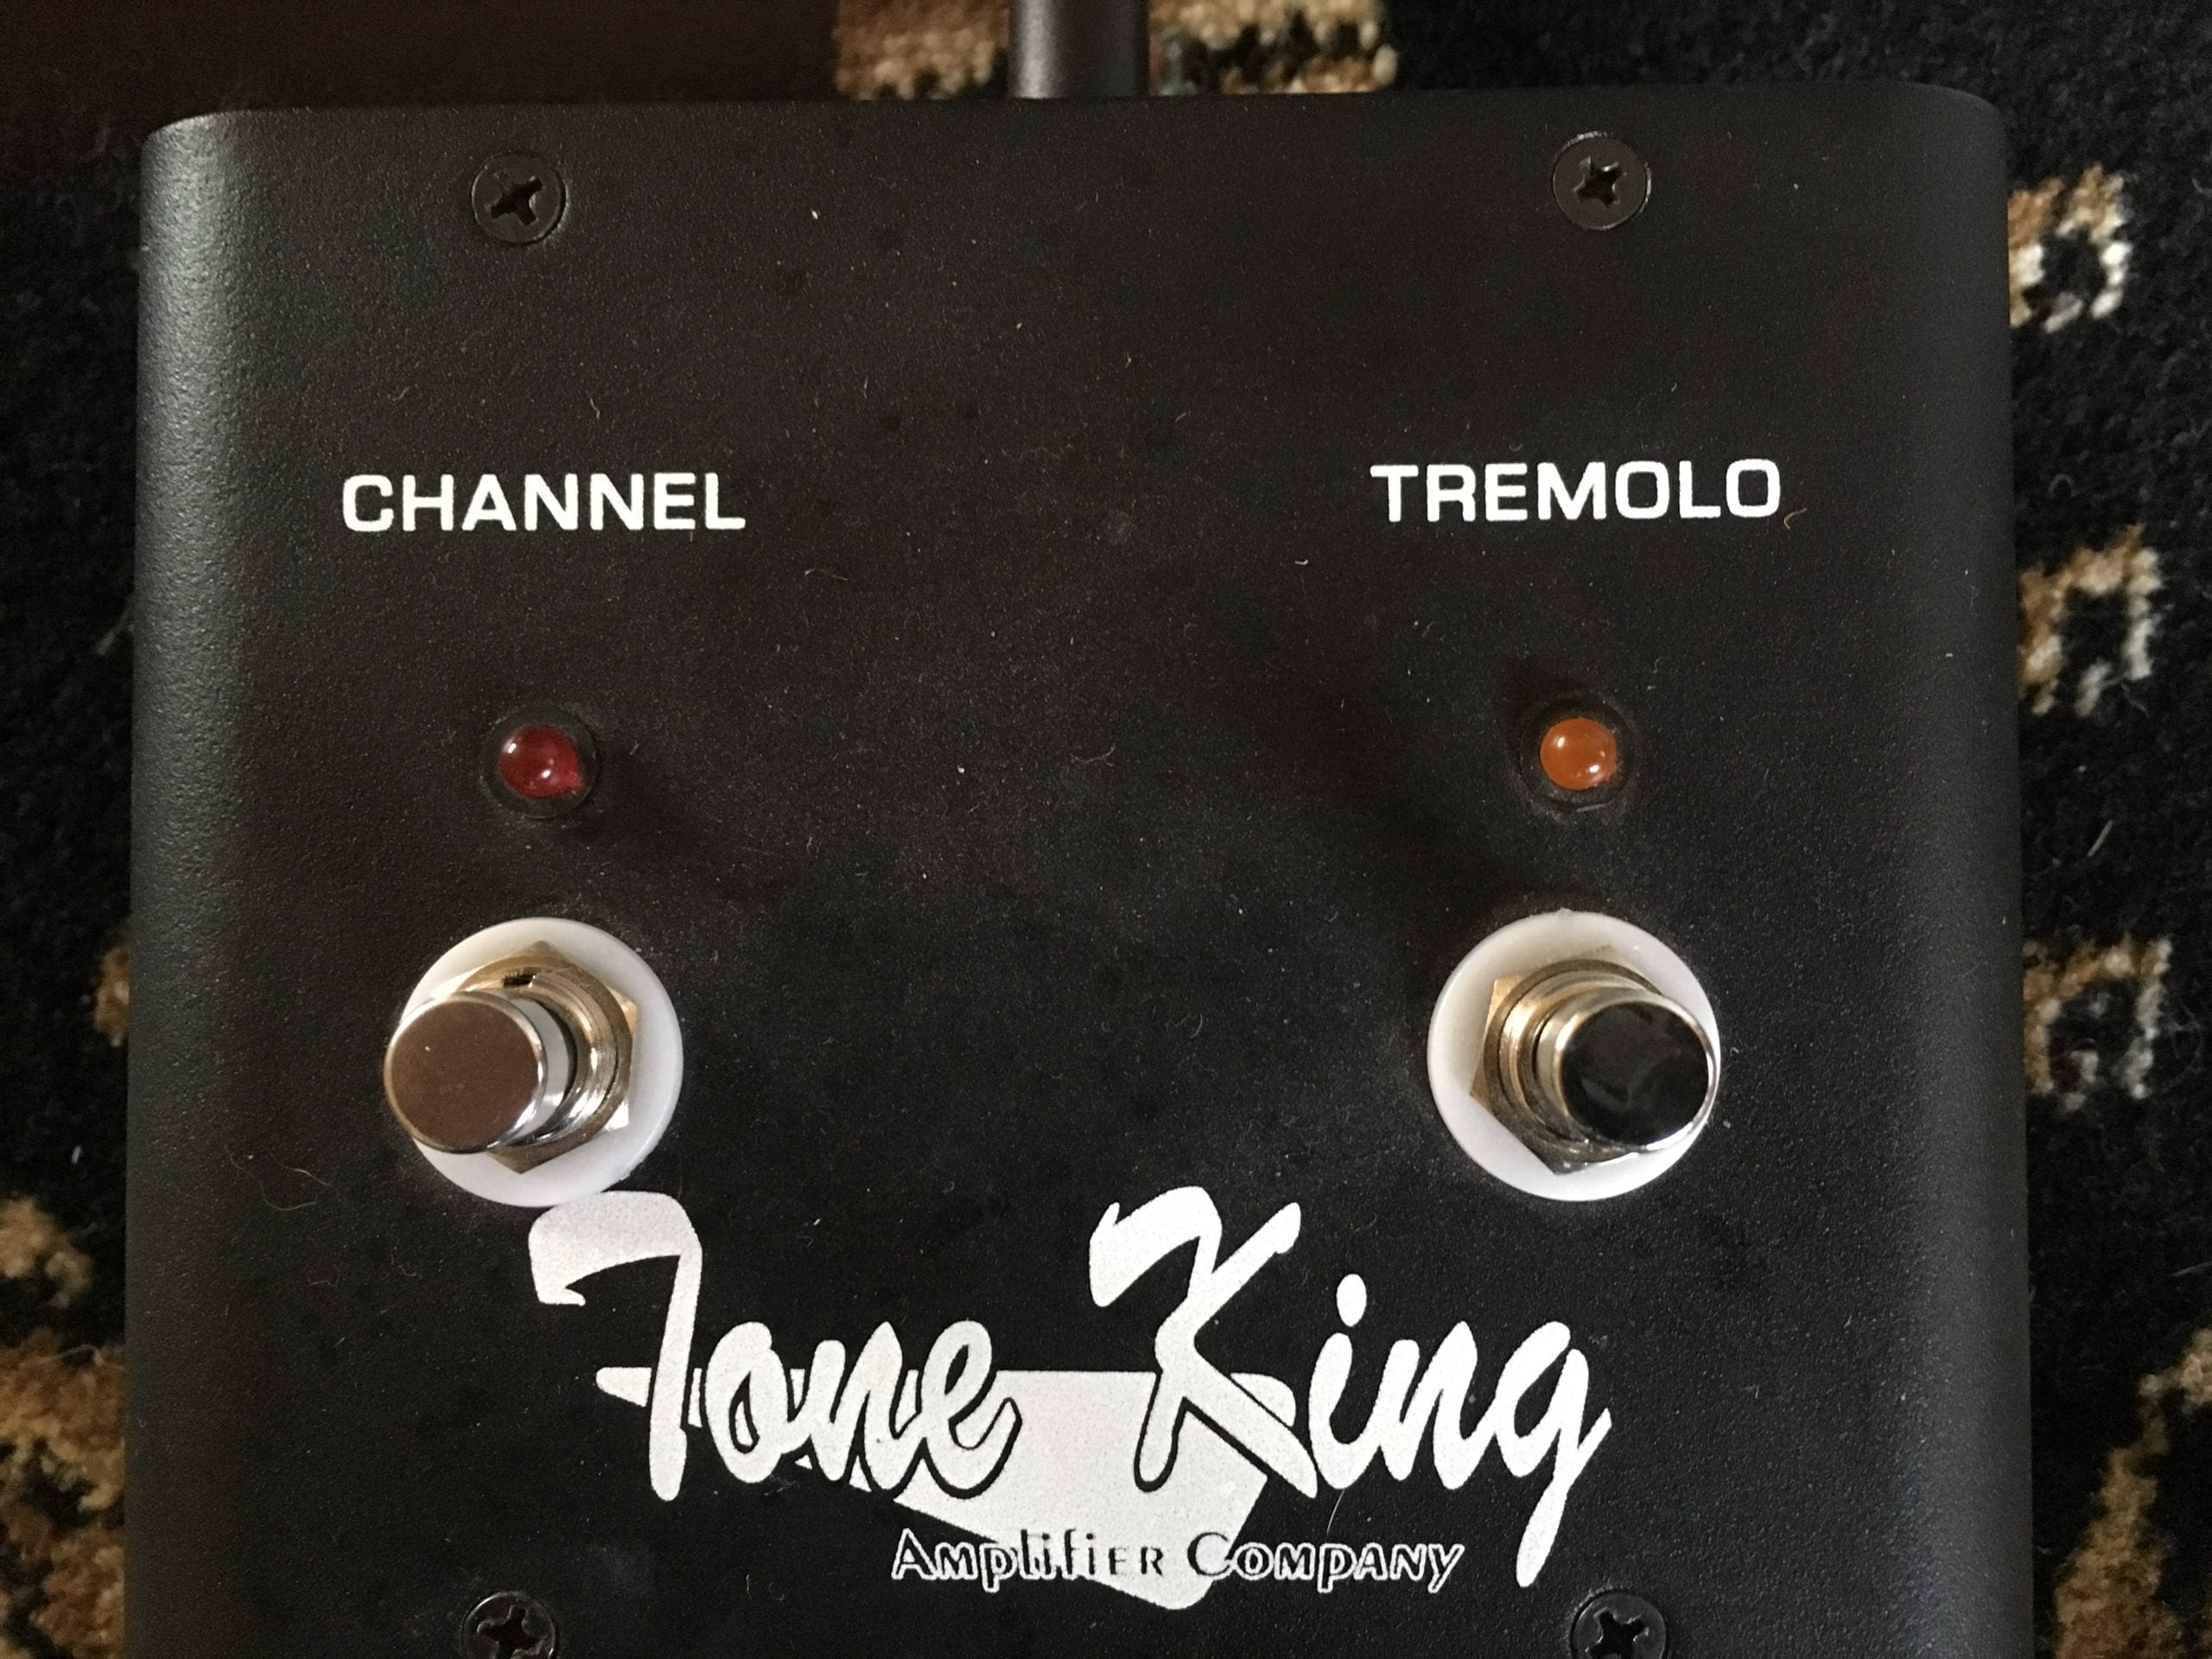
The foot pedal switches between the lead and rhythm channels and switches on and off the vibrato.
The amp I can describe as having more bite and edge than a Deluxe Reverb. A very nice amp.
There is now a Mk2 version and this is built on a hybrid style of component mounting which is a combo of a simple printed circuit board with turret type component mounting. This is much better and makes for much easier fault finding and repair. I somewhat fear for the Mk1 if a valve base needs to be replaced as it will be highly challenging. The Mk2 also has and Iron Man Compensated attenuator fitted and the control is on the back of the amp. This feature is available as a pedal and is more flexible as you can switch it via the foot pedal. The built in version has no foot switch control on this attenuator.
The Repair
It sounded like a simple fault. I isolated it down to the Reverb valve ( pretty obvious really !) . I grounded the grid of the valve as this input is floating and turned the reverb control while looking at the output of the stage via the signal capacitor. I could see the amplitude of the horrible signal on the oscilloscope
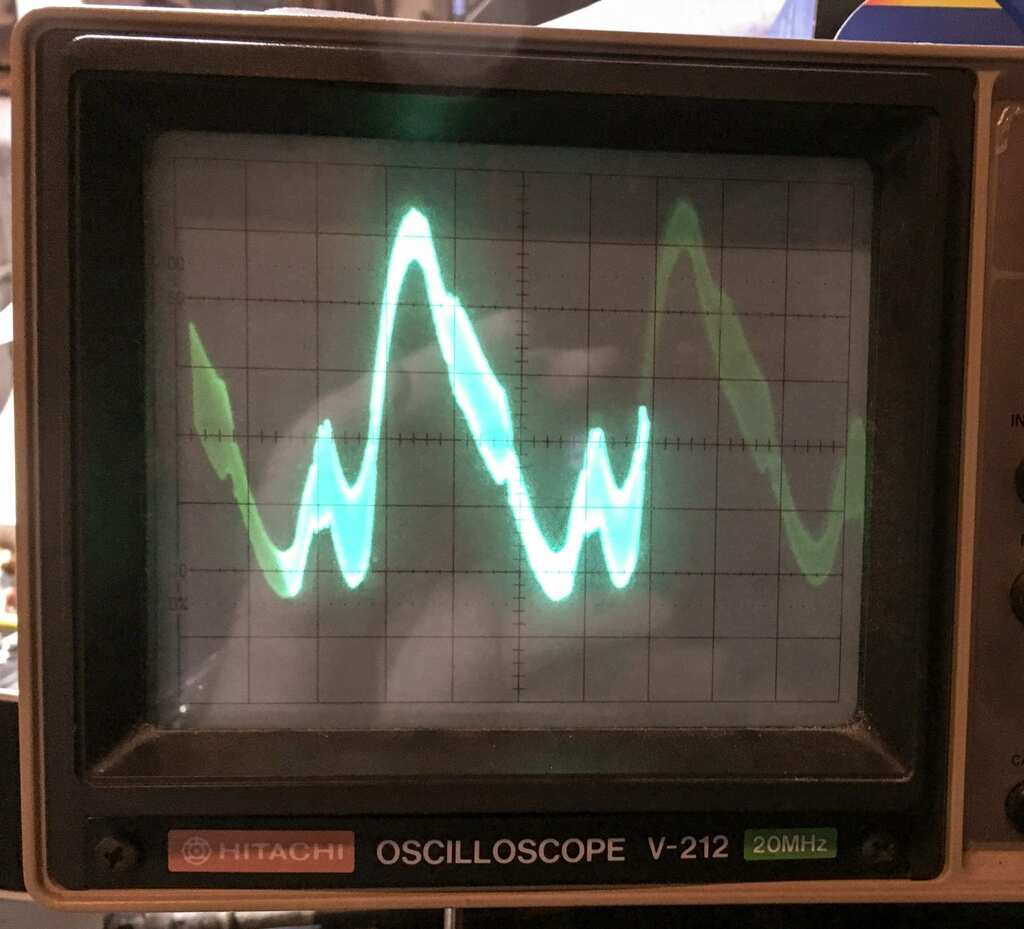
it sounded as horrible as it looked.
I tested the components on my LCR bridge and they all came up as the right values. I replaced the 0.047uF capacitor and hey presto it was gone !! The signal capacitor tested as good and the right value on the LRC bridge but the tester only tests at around 12 volts. In operation the voltages are much higher and the capacitor was clearly leaking DC volts and causing this weird effect.
If the reverb pan is unplugged, the input to this 12AX7 is left totally floating which will pick up hum so I fitted a pull down resistor as in the Fender Deluxe Reverb to stop stray noise getting into this signal path if the reverb pan is dis-connected.
The valves were tested and all were Ok apart one very microphonic 12AX7. When new this amp was fitted with Sovtek pre-amp valves. The 12AX7WA. to calm down this amp the Sovtek 12AX7LPS is recommended by Mark the designer. We always have a good range of Sovtek valves in stock at attractive prices !
There were a few other minor jobs, such as cleaning the pots, restoring a cracked control knob and re-soldering some solder joints that looked suspiciously like dry joints. Hand soldered unleaded solder joints are more suspect to having dry joints because of the higher temperatures need to solder as compared to leaded solder.
The amp was re-assembeled pit on soak test and then PAT tested. All ready for many more gigs!
Written by Stewart